Extra 10% Off Orders above ₹2499 : Use Code: HUP10
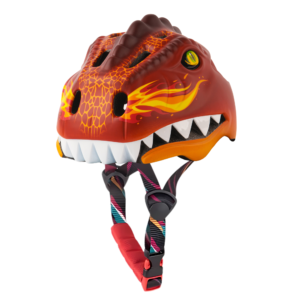
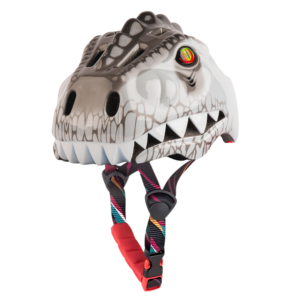
Safest Comfort Helmet for Kids
Free Shipping | 7-Day Free Returns
Lifetime Warranty*
COD Available
by Basit Manzoor
Safety is the top priority when finding the perfect bicycle helmet for yourself or your kids. That’s why understanding the helmet test procedure for these helmets is crucial. In this article, we’ll dive into the details of how manufacturers follow helmet test procedures to ensure the highest quality. We’ll explore the specific impact tests and quality standards that they use to provide the necessary protection for riders.
Read More: Top Bicycling Skills for Kids to Learn
Here are the tests used to measure helmet safety and ensure maximum protection and reliability:
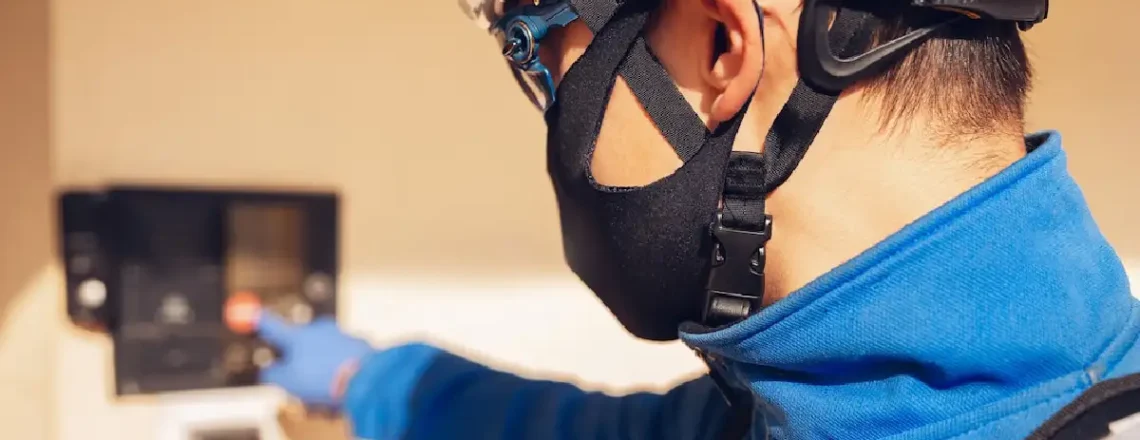
This helmet test procedure assesses the helmet’s impact absorption capabilities by measuring the acceleration a head form experiences during a controlled free fall onto a stationary steel anvil. For ISI, testers subject the helmet to multiple impacts, with the first occurring within 45 seconds of conditioning and subsequent impacts completed within 5 minutes. To pass the test, the helmet must continuously maintain acceleration levels below 150 gn for any 5 milliseconds and must not exceed 300 gn. For DOT, the standard allows a peak acceleration energy of 400 G.
During the resistance-to-penetration test, testers place the protective helmet on a headform with an initial load of 10 N. They position a metal punch with a rounded conical head vertically to touch a selected point on the helmet shell and secure it with a ring.
Next, a metal drop hammer falls on the punch, and an inertia-free device, such as a photoelectric device, measures the penetration depth into the shell. This test takes place at two points within the helmet’s protective area, at least 5 mm apart from each other and any previous impact points. The punch’s head must not come closer than 5 mm vertically to the head form throughout the test.
After conditioning the helmet at ambient temperature and humidity, testers position it between two parallel plates capable of applying a known load along the longitudinal or transverse axis. They apply a starting load of 30 N and measure the distance between the plates after two minutes.
Then, they increase the load by 100 N every two minutes, reaching a maximum of 630 N. Finally, after two more minutes at the maximum load, they measured the distance between the plates again.
Read More: How To Buy a Perfect Helmet? Fit Check for Kids’ Helmet
The retention system test involves placing the helmet’s retention straps under load in tension.
For ISI, the dynamic displacement of the force application point should not exceed 35 mm, and after two minutes, the residual displacement should remain within 25 mm when measured under a 15 ± 0.5 kg mass. If the retention system gets damaged, it is acceptable as long as the helmet can still be easily removed from the headform and meets the displacement requirements.
For DOT, testers apply a load of 22.7 kg for 30 seconds, then increase it to 136 kg for 120 seconds, measuring the stretch or displacement of a fixed point on the retention strap from the apex of the helmet.
This helmet test procedure measures the difference in sound levels with and without the helmet. Testers carry it out in an open space without obstacles, where horns emit sound waves toward the rear of the headform at a distance of 2 meters. They then record and compare the difference in sound levels.
Testers place the conditioned helmet on a suitable head form and securely fasten it. Then, they guide a falling mass in free fall from a height of 0.50 m ± 0.01 m. After the test, the angle between the helmet’s reference line and the headform should not exceed 30°.
Testers measure the angle between the raised visor and the horizontal plane, ensuring that the angle between a defined line and the horizontal is at least 5°. The point must also fall below the horizontal plane passing through another point.
To test the flexibility of the peak, testers apply a load of 120 N and suspend a mass carrier weighing 114 g from the front edge of the peak. After 2 minutes, they measure the resulting movement to assess the peak’s deflection, ensuring it falls within the 6 mm to 32 mm range.
DOT also ensures that helmets do not compromise peripheral vision. It requires a minimum of 105° visibility from the helmet’s center.
Read More: How Bicycling Makes Kids Happier and Smarter?
Next time you shop for a helmet, remember to look for certifications like ISI and DOT. These certifications guarantee that the helmet has passed rigorous tests and meets the highest safety standards. Ride on, stay safe, and keep rocking those helmets!
If you’re looking for a safe, secure, and attractive Helmet for your kids, then Headzup is the right place for you. We offer the best kids’ helmets for cycling and skating.
 27 August 2025
While outdoor sports like cycling, skating, and skateboarding are often celebrated for building physical fitness...
 25 August 2025
There’s a special kind of happiness that lights up a kid’s face the moment they...
 23 August 2025
Learning road safety is the most important skill to acquire before learning how to ride...
") 21 August 2025
21 August 2025
Riding a bicycle for the first time is often considered an adventurous and amazing milestone...
FIND WHAT MOVES YOU
FIND WHAT MOVES YOU
FIND WHAT MOVES YOU
FIND WHAT MOVES YOU
FIND WHAT MOVES YOU
FIND WHAT MOVES YOU